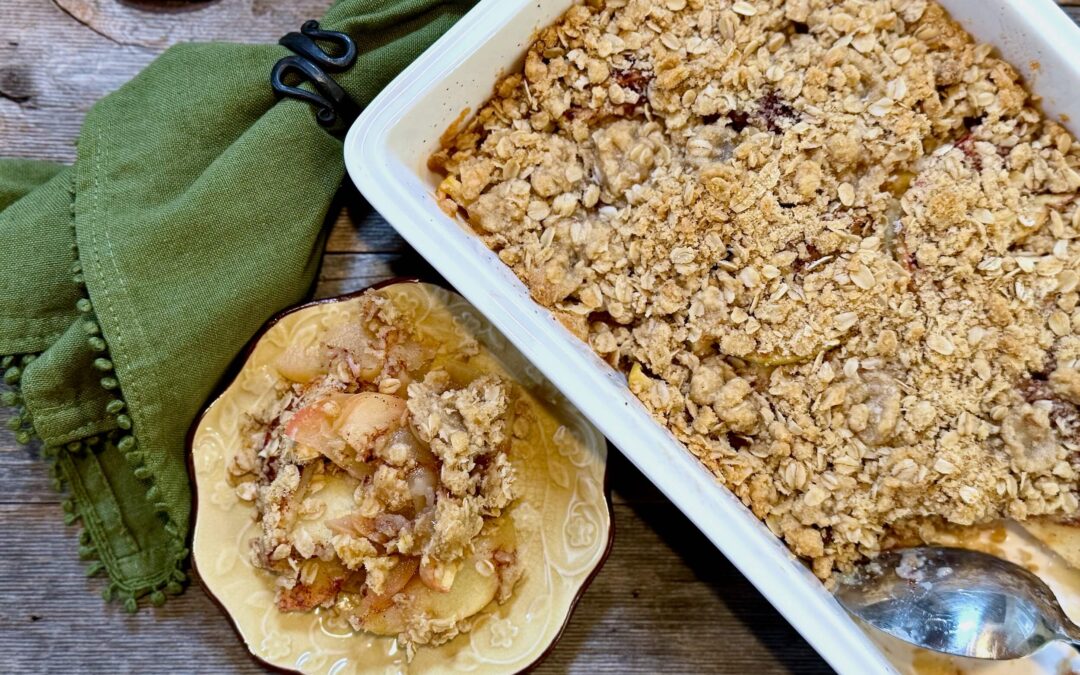
Fresh Fruit Crisp is Calling Your Name
Are you looking for a crowd-pleasing dessert that serves up cozy vibes, will make your tastebuds dance, and is super simple?
It’s fruit crisp and it’s calling your name.
Picture this: a layer of juicy, sweet fruit at the bottom of a baking dish, topped with a crumbly, golden layer of oats, flour, brown sugar, and butter. And the best part? When it’s warm just out of the oven, enjoy it with a dollop of fresh, whipped cream or scoop of ice cream.
Whether you’re a beginning baker or a dessert pro, you’ll love how simple and satisfying this treat is.
A Fun Scoop of Fruit Crisp History
Fruit crisps have been delighting dessert lovers for more than a century.
This simple dessert surged in popularity in the early 20th century, especially during the 1920s and 1930s when recipes for easy affordable desserts were all the rage.
The term “crisp” first appeared in American cookbooks in the early 20th century. While we don’t know exactly who invented the first crisp, it’s thought that the rise in popularity in oats as an ingredient in American kitchens spurred its development.
Originally baked with fruits like apples or rhubarb, crisps quickly became a thing. Now, crisps are beloved for their adaptability – from apples to peaches to plums or apricots – mix and match fruit according to the season, your mood, or whatever is in the fridge.
Tips For the Perfect Fruit Crisp
1. Seasonal Fruits Are Your Best Friend. The fresher the fruit, the better your crisp. Using ripe, in-season fruit will naturally make your dessert sweeter and more flavorful. Apples are great for fall, peaches are perfect for summer, and don’t be afraid to try something unexpected like pears or plums. And don’t forget to throw in some fresh cranberries when they are in season.
2. Bake It Until It Bubbles. Knowing when your crisp is ready is easy – look for that telltale bubbling around the edges. The bubbling means the fruit is perfectly tender and the juices have thickened just enough to create that gooey texture we love.
3. Top It With a Cool Treat. Serving your crisp warm? A scoop of vanilla ice cream or a dollop of whipped cream is the ultimate finishing touch. The contrast of warm, crunchy crisp with cold, creamy ice cream or whipped cream is simply irresistible.
Fruit Crisp is perfect for both special occasions and last-minute desserts because it is completely easy and customizable.
So the next time you’re craving a treat that feels like a warm hug, make this fruit crisp.
Try this recipe featuring strawberries.
Fruit Crisp
Make the perfect fruit crisp with this fail-proof recipe. Enjoy this cozy dessert that’s like a warm hug with a dollop of whipped cream.
- Prep Time: 20
- Cook Time: 35
- Total Time: 55 minutes
- Yield: 8 servings 1x
Ingredients
- 1 cup rolled oats
- 3/4 cup all-purpose flour
- 3/4 cup brown sugar
- 1/2 cup unsalted butter, cubed
- 6 cups sliced apples (or peaches, pears, plums, or apricots)
- 1 teaspoon cinnamon
- 1 tablespoon water
- 1 teaspoon lemon juice
Optional Whipped Cream
- 1 cup heavy whipping cream, chilled
- 2–3 tablespoons sugar (depending on how sweet you like your whipped cream)
- 1 teaspoon vanilla
Instructions
- Heat oven to 375˚F.
- In a large bowl, combine the oats, flour, brown sugar, and butter. Using your hands, gently work these ingredients together, rubbing the butter into the dry ingredients until crumbly. Set aside.
- Core and slice the fruit.
- Place the fruit in a 2-quart casserole. Sprinkle the fruit with the cinnamon, water, and lemon juice.
- Sprinkle the crumb mixture evenly over the fruit.
- Bake for 25-35 minutes or until fruit is tender and the topping is golden brown.
Optional Whipped Cream
- Whip the cream in a chilled mixing bowl until the cream begins to form soft peaks.
- Gradually add the sugar and vanilla.
- Continue to beat until firm peaks are formed.
- Use immediately or store in the refrigerator.
Notes
- Use your whipped cream right away or cover and store it in the refrigerator. It’s best within 24 hours of whipping. Give it a quick whisk, if needed.
- Substitute the vanilla with your favorite liqueur or leave the vanilla out altogether.


Top 10 Fruits and Vegetables for Weeknight Cooking
You can make a delicious meal any night of the week with a handful of fresh vegetables and fruits. Get Chef Sandra Lewis' Top 10 Vegetables and Fruits for Weeknight Cooking. Subscribe to our email list below or text COOK to 66866.
You have Successfully Subscribed!
We never, ever share your information.